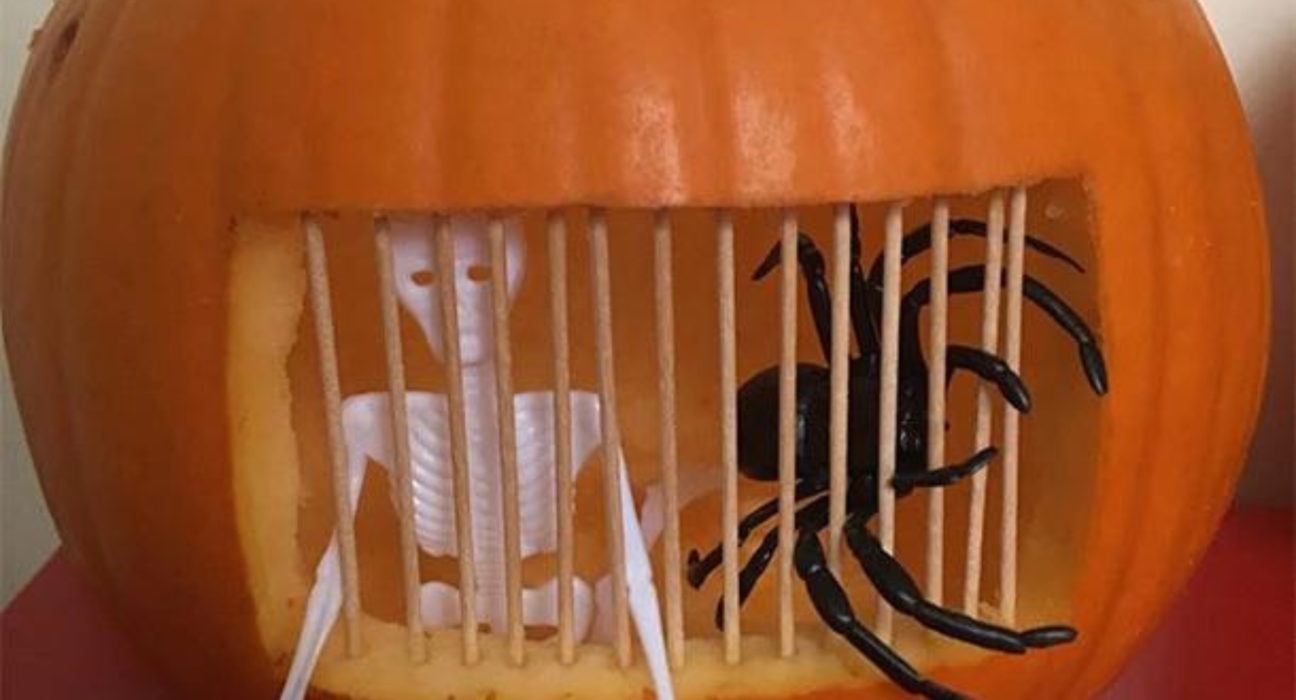
Seeking a unique twist on the classic Jack O’Lantern? Discover a spookily simple alternative: the ‘spooky jail’ pumpkin. Follow our step-by-step guide to craft this Halloween masterpiece.
You will need:
- Pumpkin
- Felt-tip pen
- Short-handled serrated knife, sharp-pointed knife/tool, and a scoop/large spoon (or a pumpkin carving kit)
- Small Halloween toys (e.g., a skeleton or ghost)
- Damp cloth
- Tea light or battery-operated tea light
Step 1: Jail Outline
- Place the pumpkin on a sturdy surface.
- Use a pen to draw a rectangle slightly smaller in height than your cocktail sticks. You can free-hand it or use a stencil.
Step 2: Prepare the Top
- Draw a circle around the pumpkin’s stalk, ready for cutting.
Step 3: Carve the Top
- Pierce a hole at one point on the circle drawn around the pumpkin top using a sharp-pointed knife or the piercing tool from a carving kit.
- Insert a short-handled serrated knife or the carving tool from the kit into the pierced hole.
- Start cutting around the line, angling slightly towards the center to create a bowl-shaped hole. This may require adult supervision.
Step 4: Clean the Interior
- Remove the lid you’ve cut and scoop out all the seeds and fiber using a spoon or the scoop from your kit.
- Optionally, remove some or all of the flesh. Don’t forget to clean the lid, which can be used for pumpkin recipes.
Step 5: Carve the ‘Jail’
- Use a knife with a serrated edge or the cutting tool from your kit.
- Cut into the pumpkin along the ‘jail’ outline, employing a gentle back-and-forth motion and maintaining a steady downward pressure. Always cut with the blade facing away from you for safety.
Step 6: Assemble the ‘Jail’
- Wipe off any pen marks or pumpkin-flesh bits with a damp cloth.
- Place your chosen Halloween toys inside the pumpkin.
- Insert cocktail sticks evenly into the pumpkin flesh at the top and bottom of your ‘jail’ outline to create a miniature prison.
- Insert a tea light, and put the lid back on. Your ‘spooky jail’ pumpkin is ready to haunt your Halloween decor.
